
Figure 1: The pieces of the microscope holder, before being laser-cut from an acrylic. The size was calibrated by making sure the bar across the top was scaled to 11 inches.
This entry represents the lessons learned during design and construction of the acrylic rig to hold the microscope and raspberry pi, as well as attempts to get automated imagery from the entire device once it was put together.
While designing and then assembling the holder for the microscope, several caveats were kept in mind:
Once assembled, the acrylic cement was allowed to cure for at least 24 hours (in practice, about 3 weeks) to make sure it would not pop apart under stress. The well plate holder is still made from K'nex pieces, which has the downside of obscuring parts of the well plate since the plastic is not transparent. This will be resolved in future iterations by using a bent-wire holder for well plates.
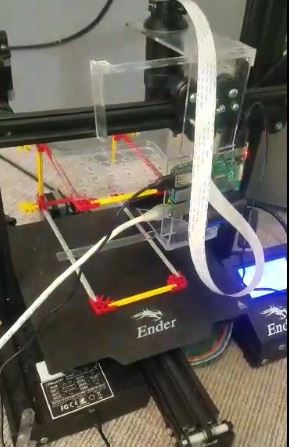
After the acrylic cement was fully cured and stable, the microscope holder was attached to the 3D printer by drilling four small holes and using the same screws that the print head was originally attached with. The Raspberry Pi was attached by drilling four more holes and then securing it with a few bits of stiff paperclip wire.
The only remaining difficulties were in troubleshooting the python script used to take multiple images. Once this were debugged, a successful test run was able to capture 1944 clear images, in a 9x9 grid within each of 24 wells on a plate!